Introduction
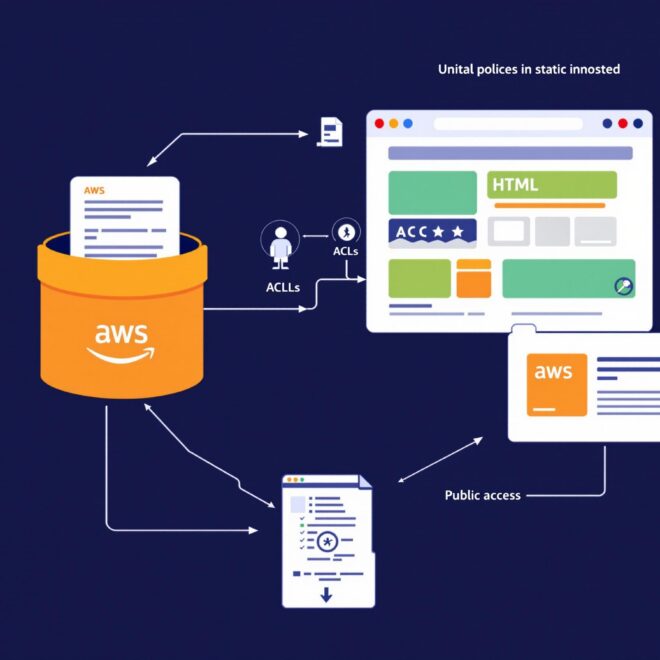
As part of my journey transitioning from marketing to cybersecurity, I’ve been exploring cloud technologies that are foundational to modern web applications. One of the most practical and beginner-friendly AWS services is S3 (Simple Storage Service). Which allows you to not only store files but also host entire static website on AWS S3.
In this blog post, I’ll walk you through my recent project where I set up a static website on AWS S3. This project demonstrates how cloud services can be used to deploy web content quickly and securely, a valuable skill for anyone in tech – especially those interested in cloud security.
Project Overview
Time Investment: Approximately 2 hours (including setup, configuration, and troubleshooting)
AWS Services Used: Amazon S3
Key Concepts Learned:
- Bucket policies
- Static website hosting
- Public access controls
- ACLs (Access Control Lists)
- Bucket endpoint URLs
Why Host a Website on S3?
Before diving into the steps, you might wonder why S3 is a good choice for hosting a static website:
- Cost-Effective: Pay only for the storage you use and the data transferred
- Highly Scalable: Handles any amount of traffic without configuration changes
- Reliable: Built on Amazon’s highly available infrastructure
- Secure: Granular access controls and integration with AWS security features
- Simple: No servers to manage or maintain
Step 1: Creating an S3 Bucket
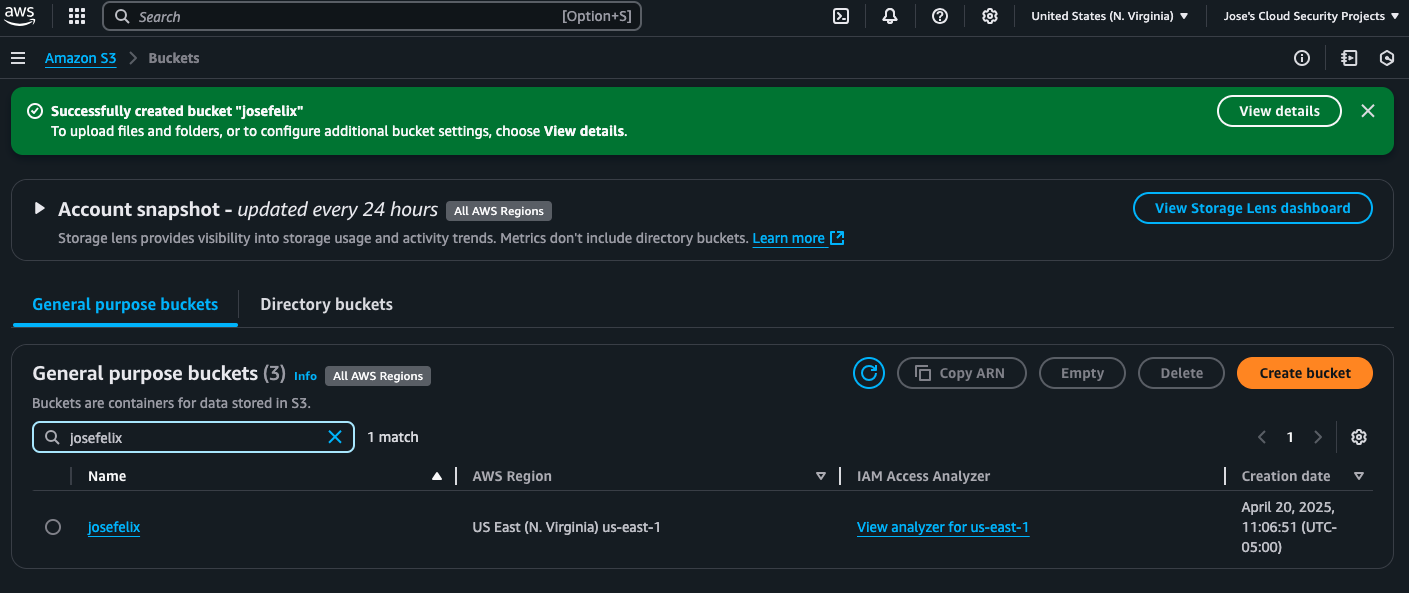
Setting up the S3 bucket took less than 4 minutes, but required understanding some new concepts:
- I logged into my AWS Management Console and navigated to the S3 service
- Created a new bucket with a globally unique name (remember, S3 bucket names must be unique across all of AWS!)
- Selected Virginia (us-east-1) as my region since it’s closest to my location, reducing latency and costs
- Unchecked “Block all public access” since this would be a public website
- Enabled ACLs for more granular control of object permissions
Pro Tip: Choose a region closest to your expected audience to minimize latency. Since I’m on the East Coast, Virginia was the logical choice.
Step 2: Uploading Website Files
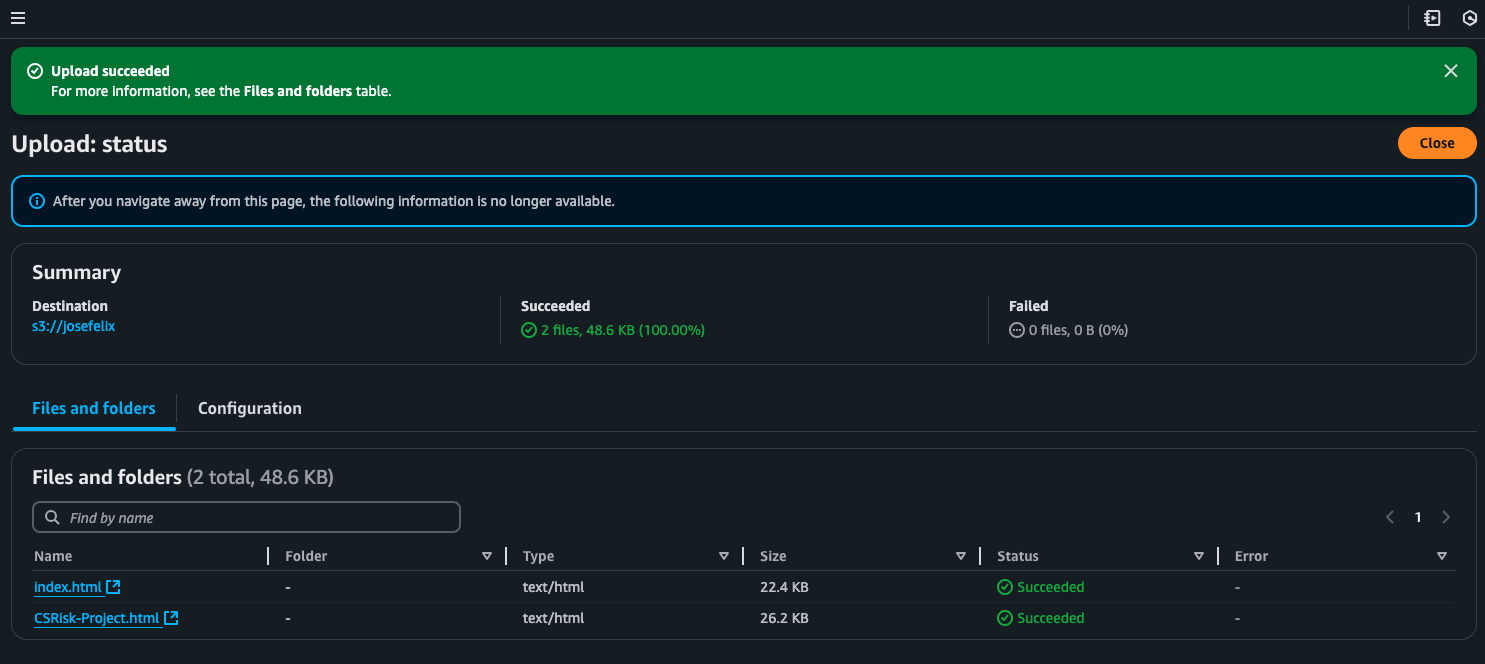
Next, I uploaded my website files to the newly created bucket:
- Navigated to my bucket in the AWS console
- Clicked the “Upload” button
- Added my website files:
index.html(main landing page)CSRisk-Project.html(a cybersecurity risk assessment project)
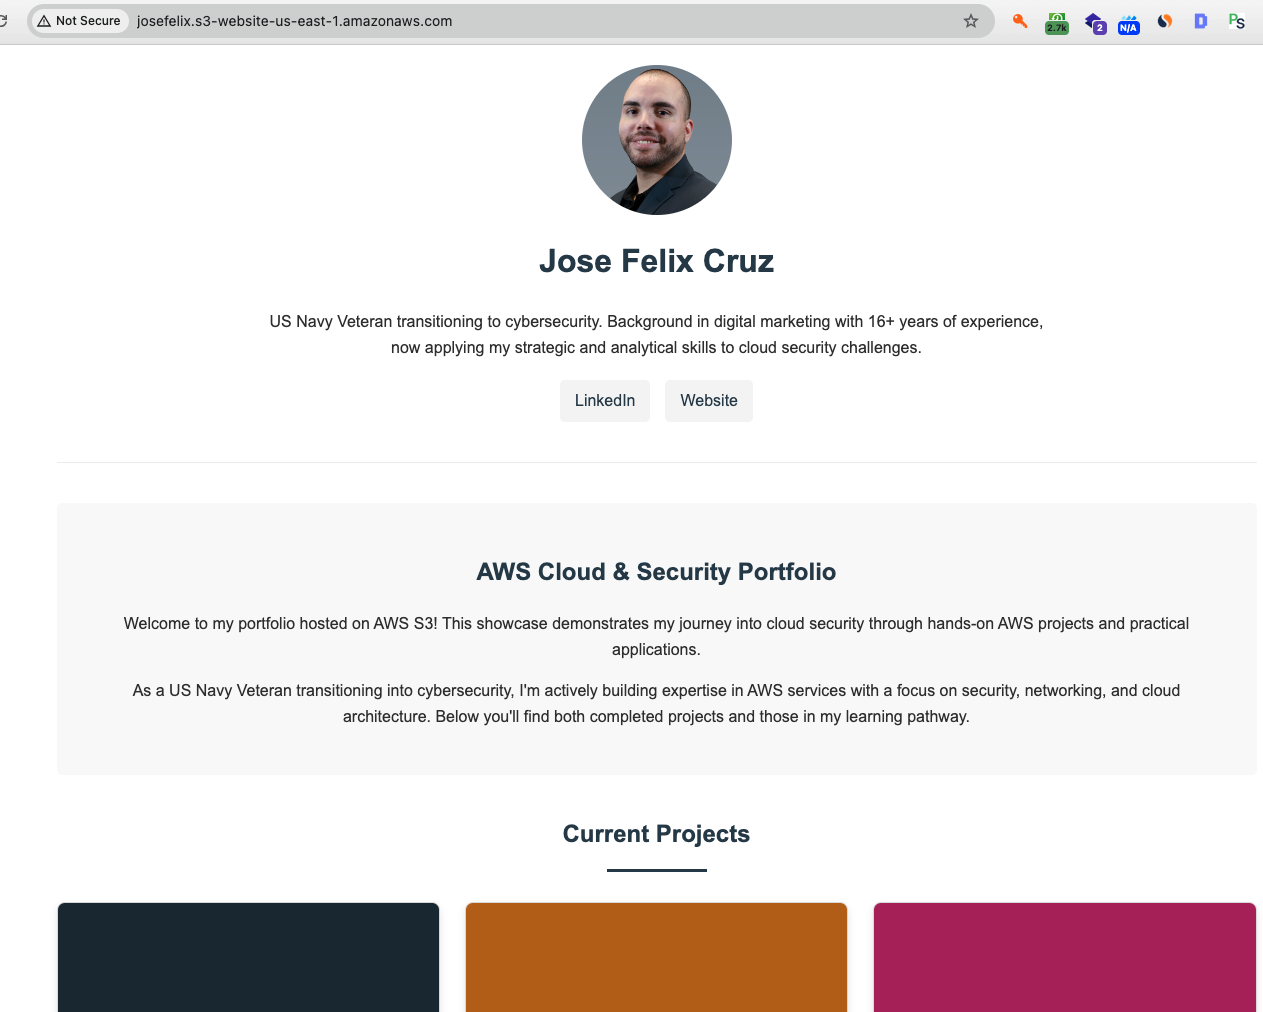
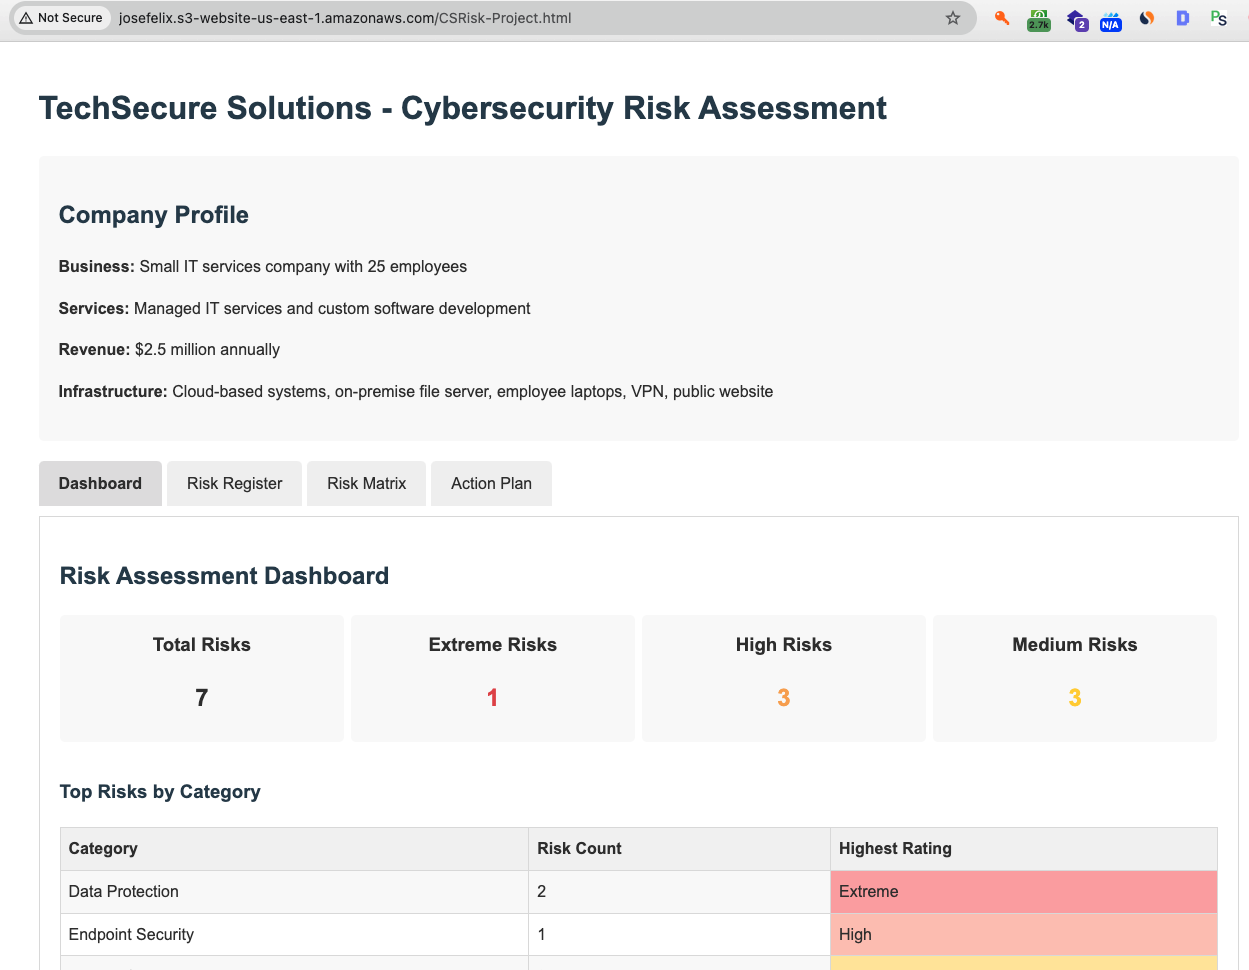
These files comprise a portfolio website showcasing my cybersecurity projects, starting with a risk assessment for a fictional company called TechSecure Solutions.
Step 3: Configuring Static Website Hosting
To enable hosting functionality:
- Selected my bucket in the S3 console
- Went to the “Properties” tab
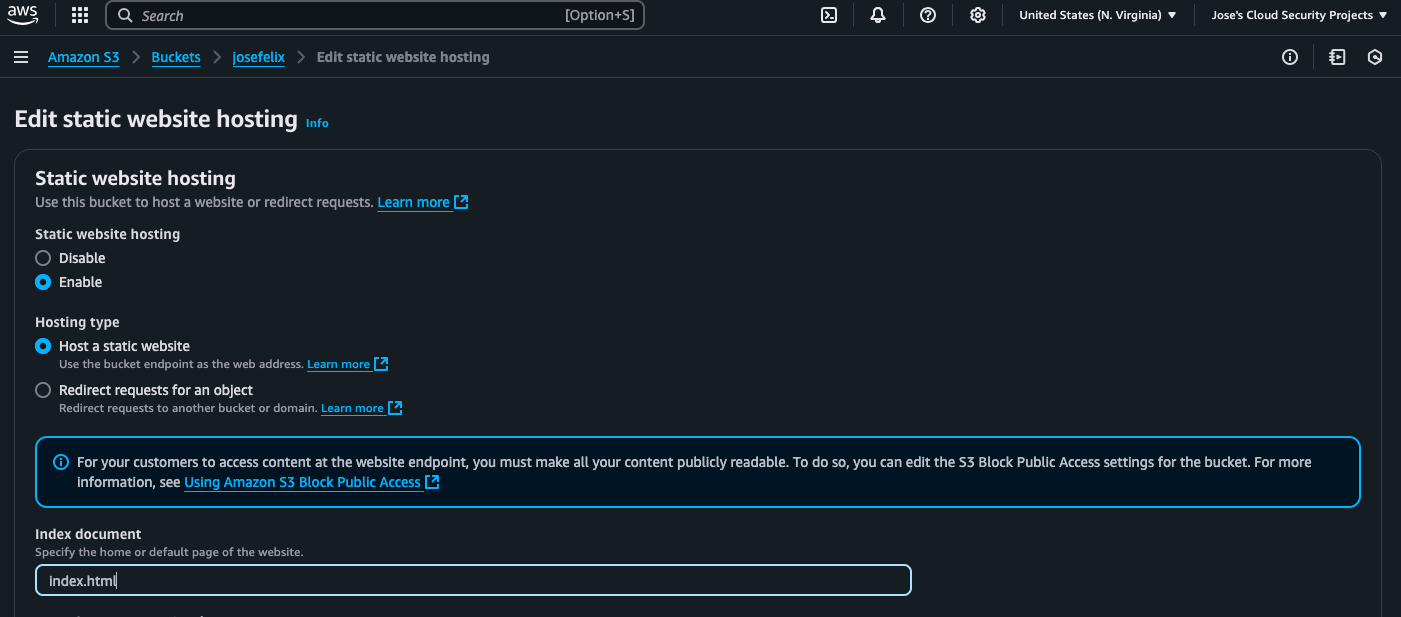
- Scrolled down to “Static website hosting” and clicked “Edit”
- Selected “Enable” static website hosting
- Specified “index.html” as my index document
- Saved the changes
At this point, AWS provided me with a bucket endpoint URL – the public address where my website would be available once properly configured.
Step 4: Addressing the 403 Forbidden Error
When I first tried to access my site using the endpoint URL, I encountered a 403 Forbidden error. This is a common issue that trips up many beginners. Despite disabling “Block all public access” at the bucket level, the individual objects were still set to private by default.
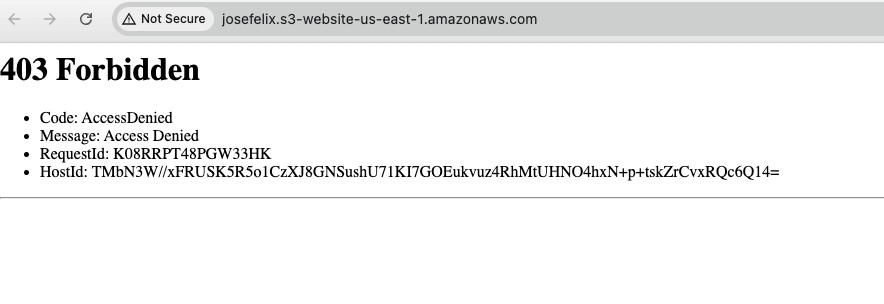
To resolve this, I had two options:
Option 1: Using ACLs (Access Control Lists)
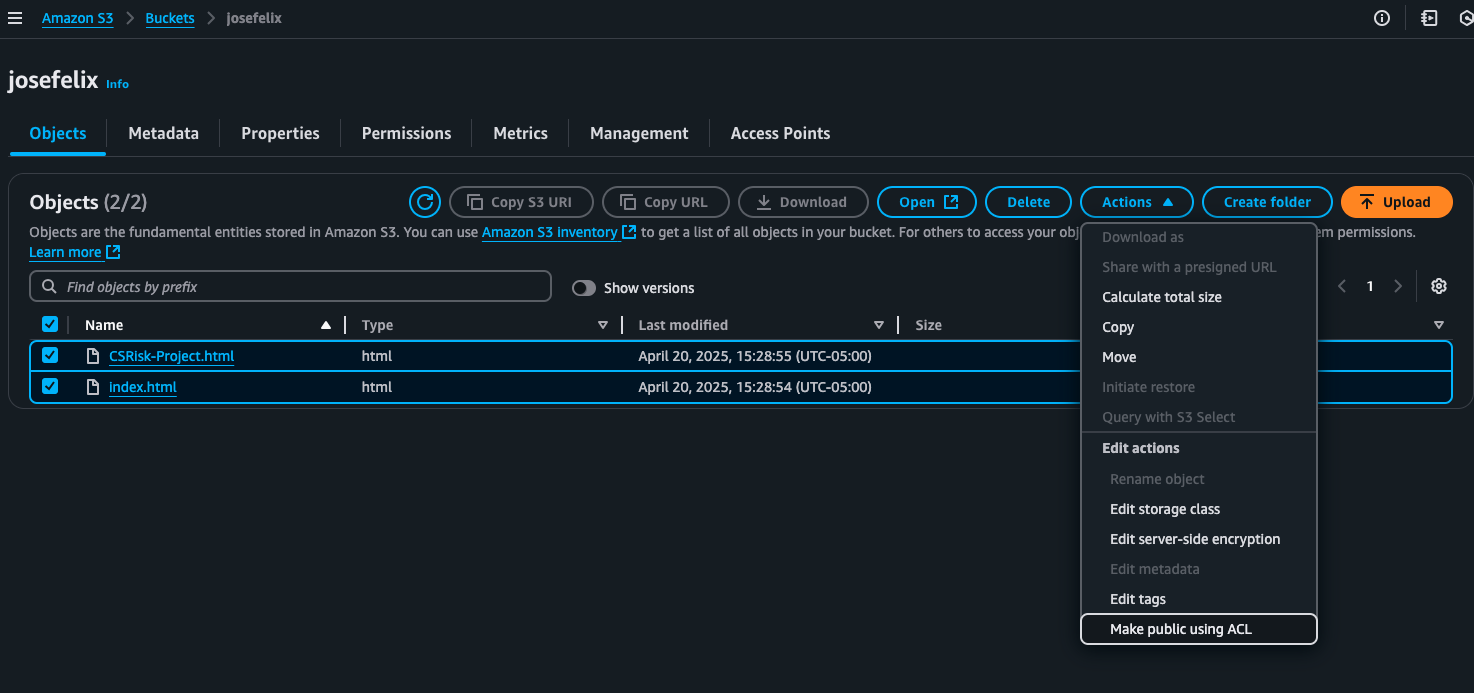
- Selected the files I wanted to make public in the Objects tab
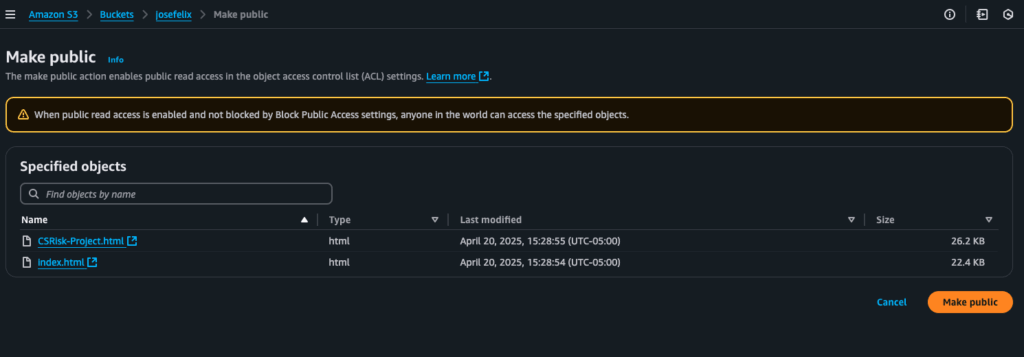
- Under “Actions,” chose “Make public using ACL”
- Confirmed the action
This immediately made the selected objects publicly accessible, and my website became viewable.
Option 2: Using Bucket Policies
I also implemented a bucket policy to provide more access control:
{
    "Version": "2012-10-17",
    "Statement": [
        {
            "Sid": "PublicReadGetObject",
            "Effect": "Allow",
            "Principal": "*",
            "Action": "s3:GetObject",
            "Resource": "arn:aws:s3:::YOUR-BUCKET-NAME/*"
        },
        {
            "Sid": "DenyDeleteIndex",
            "Effect": "Deny",
            "Principal": "*",
            "Action": "s3:DeleteObject",
            "Resource": "arn:aws:s3:::YOUR-BUCKET-NAME/index.html"
        }
    ]
}
This policy does two things:
- Allows public read access to all objects in the bucket
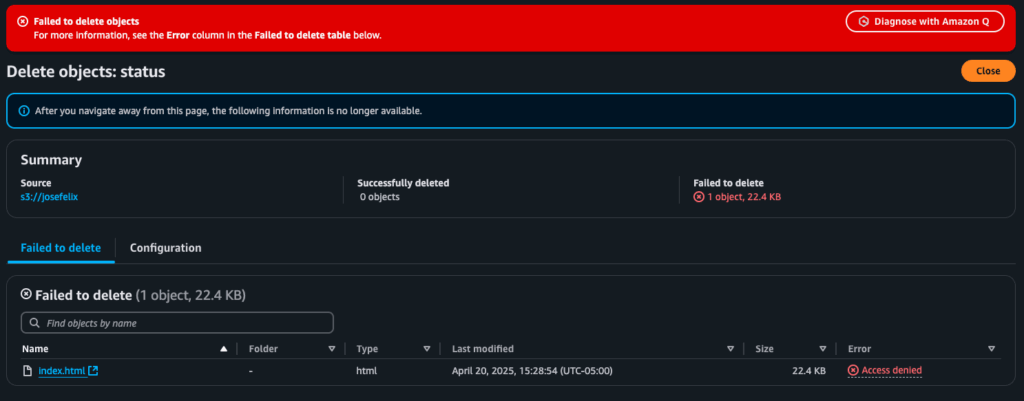
- Prevents anyone from deleting the critical index.html file
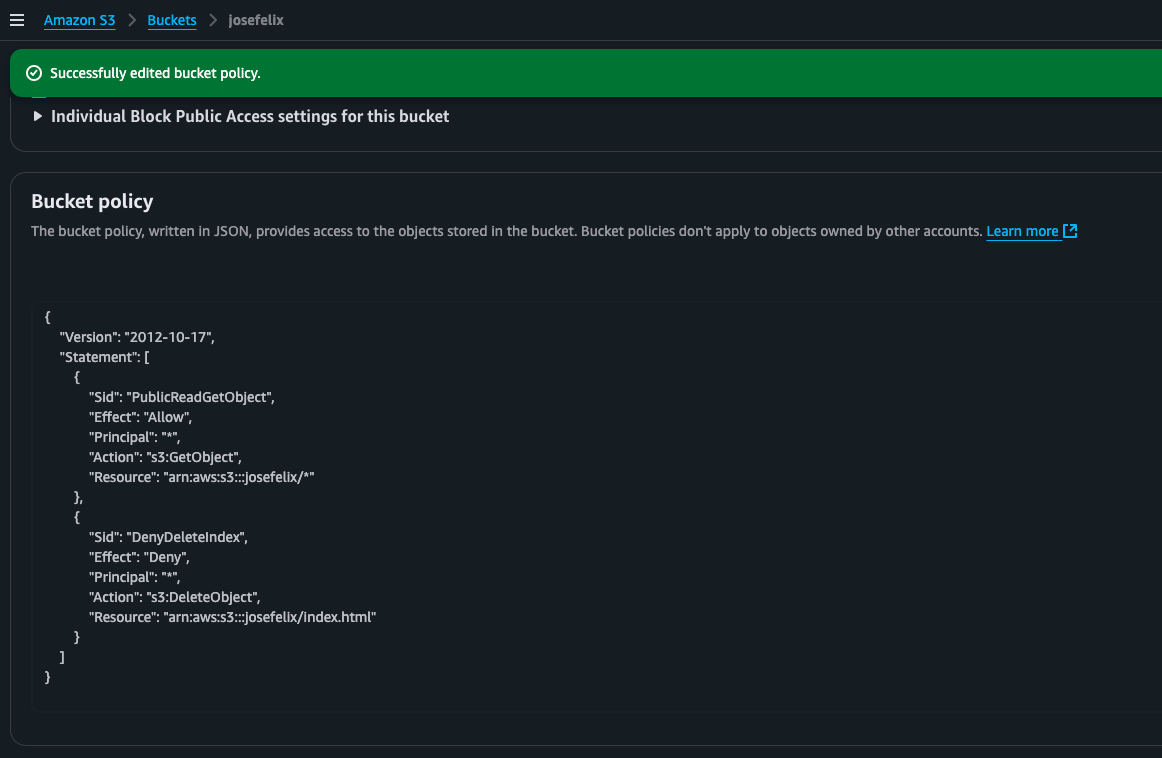
I tested the policy by attempting to delete the index.html file and was pleased to see a “permission denied” error – confirmation that my policy was working correctly.
Success! My Website Is Live
After resolving the permissions issues, my website was successfully accessible through the S3 bucket endpoint URL. The site showcases my cybersecurity portfolio projects, with the risk assessment being the first featured project.
Comparing ACLs vs. Bucket Policies
Through this project, I learned about two different approaches to managing S3 permissions:
ACLs (Access Control Lists):
- Good for making individual objects public
- Simpler to use for basic permissions
- Legacy method but still useful in specific cases
Bucket Policies:
- More powerful and flexible
- Can specify complex conditions and actions
- Better for setting permissions across the entire bucket
- Recommended by AWS for most use cases
While AWS generally recommends using bucket policies over ACLs, I found it valuable to understand both methods.
Key Takeaways and Best Practices
- Region Selection Matters: Choose the AWS region closest to your audience to minimize latency.
- Bucket Names Are Global: Remember that bucket names must be unique across all of AWS.
- Public Access Is Multi-Layered: Both bucket-level and object-level permissions must be configured correctly.
- Security Is Essential: Only make objects public that need to be public; use bucket policies to control access precisely.
- Test Thoroughly: Always verify that both your content and security measures are working as expected.
What’s Next?
This project is just the beginning of my journey into AWS cloud services and cybersecurity. I plan to continue building out my portfolio with additional projects focused on AWS security services like:
- AWS IAM (Identity and Access Management)
- AWS KMS (Key Management Service)
- AWS GuardDuty
- AWS Secrets Manager
- VPC Traffic Flow and Security
Conclusion
Setting up a static website on AWS S3 was a straightforward yet illuminating project that taught me fundamental concepts about cloud storage, web hosting, and security permissions. For anyone transitioning into cloud security or wanting to gain hands-on experience with AWS, this is an excellent starting point.
The most challenging aspect was resolving the 403 Forbidden error, which provided valuable insights into how AWS handles permissions across different layers. The most rewarding moment was seeing my portfolio site successfully load after implementing the correct access controls.
As a US Navy veteran transitioning from marketing to cybersecurity, I found this project to be an ideal blend of technical learning and practical application – creating something tangible while building relevant cloud skills.
Have you tried hosting a website on AWS S3? What challenges did you encounter? Let me know in the comments below!
Interested in more AWS projects and tutorials? Subscribe to my blog for upcoming content on cloud security and infrastructure.


